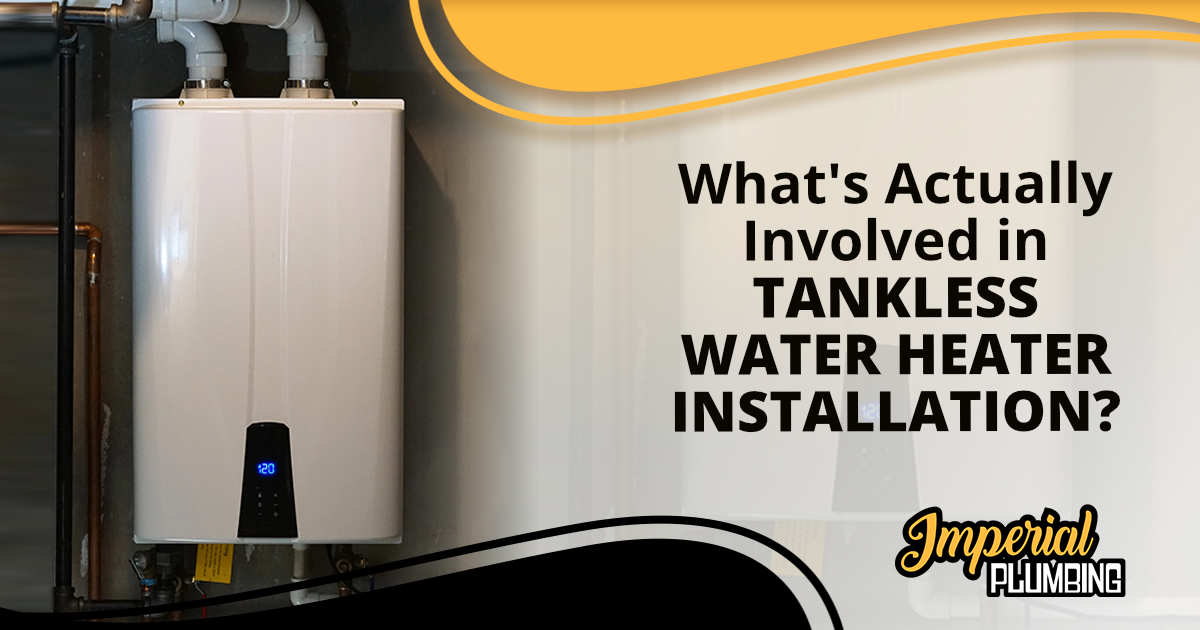
Homeowners who have decided to upgrade to a tankless water heater often want to know what happens after scheduling the installation. Understanding the tankless water heater installation process can help set realistic expectations and make the experience smoother from start to finish. While every home has unique plumbing and utility requirements, professional installation generally follows a structured process designed to ensure safety, efficiency, and long-term performance.
Unlike a simple appliance swap, installing a tankless water heater requires careful planning before any work begins. A licensed plumber evaluates the home’s existing plumbing, gas supply, venting system, and installation location to determine whether modifications are necessary. Once these factors have been assessed, the installation can proceed with confidence that the new system will operate safely and reliably.
Why the Tankless Water Heater Installation Process Starts with an On-Site Assessment
Every successful installation begins with a thorough evaluation of the home’s existing plumbing and utility systems. This assessment helps identify any adjustments that may be required before the new unit is installed and ensures the installation complies with applicable building codes and manufacturer recommendations. Completing these checks in advance helps reduce unexpected delays during installation day.
Evaluating Gas Line Capacity Before Installation
For gas-powered tankless water heaters, the existing gas supply is one of the first items evaluated during the assessment. Tankless systems often require a higher gas flow than conventional storage water heaters because they heat water on demand instead of storing it in a tank. A plumber determines whether the existing gas line can safely support the appliance’s operating requirements.
If the existing gas supply is insufficient, upgrades may be recommended before installation begins. The evaluation includes reviewing the home’s current gas usage, measuring line capacity, and calculating the demand created by other gas-powered appliances. Performing these calculations helps ensure the new system receives the fuel it needs for consistent performance.
Checking Venting Requirements for a Tankless Water Heater
Proper venting is another essential part of the installation assessment. Different tankless water heater models require specific venting materials and configurations that allow combustion gases to exit the home safely. Existing vent systems are inspected to determine whether they meet the manufacturer’s installation specifications.
If modifications are necessary, the installer identifies the appropriate vent routing and materials before installation begins. Planning these adjustments ahead of time helps prevent unnecessary interruptions once the installation is underway. Proper venting also contributes to safe operation and reliable long-term performance.
Inspecting Water Pressure and Plumbing Connections
The home’s plumbing system is also evaluated before installation begins. Water pressure, pipe sizing, shut-off valves, and existing plumbing connections are inspected to determine whether they are suitable for the new tankless unit. These inspections help ensure the system can deliver consistent hot water throughout the home.
During this stage, the plumber also evaluates the proposed mounting location and surrounding plumbing layout. Adequate access for installation and future service is considered as part of the planning process. Addressing these details beforehand allows the installation to proceed more efficiently.
Preparing the Home for the Tankless Water Heater Installation Process
Homeowners can help the installation proceed smoothly by preparing the work area before the scheduled appointment. While the plumbing work is handled by professionals, a few simple preparations can improve accessibility and reduce interruptions during the installation. These steps also help create a safer working environment.
Clearing the Installation Area
The area surrounding the existing water heater should be free of stored belongings and unnecessary obstacles before the installer arrives. Creating adequate workspace allows technicians to move equipment safely while protecting nearby walls, flooring, and personal property. Easy access also helps reduce installation time.
Homeowners may also wish to remove fragile or valuable items located near the installation area. Although installers take precautions throughout the process, having a clear workspace minimizes the possibility of accidental damage. A well-prepared area allows the work to proceed more efficiently.
Utility Access Before Installation Begins
Professional installers typically need access to the home’s water supply, gas supply, and electrical connections when applicable. Ensuring these areas remain accessible before the appointment helps streamline the installation process. In some situations, temporary utility shutoffs may be necessary while the new system is connected.
Because installation requirements vary by home, the installer may explain any temporary interruptions before work begins. Homeowners generally benefit from understanding when water or gas service may be unavailable during the installation. This communication helps everyone prepare for the scheduled work.
What Homeowners Should Expect Before the Plumber Arrives
Simple preparations before the appointment can help the installation move forward without unnecessary delays. Homeowners may be asked to provide clear access to mechanical rooms, garages, utility closets, or other installation areas. Ensuring pets remain safely secured and providing convenient parking for service vehicles can also improve efficiency.
Having someone available to answer questions during the appointment is often helpful as well. The installer may review the planned installation location, discuss any adjustments that become necessary, or explain how the work will proceed. Open communication helps keep the installation process organized from beginning to end.
What Happens During the Tankless Water Heater Installation Process
Once the assessment has been completed and the work area has been prepared, the installation process begins. Although every home presents unique conditions, professional installation generally follows a predictable sequence designed to ensure safe operation. Careful attention to each stage helps support reliable system performance.
Removing the Existing Water Heater
If a traditional storage water heater is already installed, it is disconnected and removed before the new system is mounted. This process typically involves shutting off utilities, draining the existing tank, disconnecting plumbing connections, and safely removing the old equipment. Proper removal creates a clean workspace for the new installation.
Any outdated components that are no longer compatible with the new system are addressed during this stage. Existing plumbing connections may also be modified if needed to accommodate the new equipment. Preparing the installation area properly helps ensure the next steps proceed smoothly.
Installing the New Tankless Water Heater
The new tankless water heater is securely mounted according to manufacturer specifications and local building requirements. Water lines, gas connections, venting components, and condensate drainage systems, when applicable, are installed carefully to support safe operation. Every connection is completed using approved installation methods.
Depending on the home’s existing infrastructure, some installations may require additional plumbing or utility modifications. These adjustments are completed before the system is placed into service to ensure every component functions together properly. Careful workmanship helps support reliable performance for years to come.
System Testing and Safety Checks
After installation has been completed, a licensed plumber performs a series of operational and safety checks to verify that the system operates according to manufacturer specifications. Water lines are inspected for leaks, gas pressure is verified, water flow is evaluated, and operating temperatures are tested to confirm proper performance. These inspections help identify any issues before the installation is considered complete.
The installer also confirms that venting, combustion, and safety systems operate correctly according to the manufacturer’s specifications. Final adjustments may be made to optimize system performance while maintaining safe operation. Thorough testing provides confidence that the installation has been completed properly.
How Long Does the Tankless Water Heater Installation Process Usually Take?
Installation time varies depending on the home’s existing plumbing configuration and the complexity of the project. While some installations proceed quickly, others require additional work before the new system can be safely connected. Understanding these variables helps homeowners plan for installation day.
Factors That Can Affect Installation Time
Several conditions may influence the overall installation timeline, including:
- Existing plumbing condition
- Gas line upgrades
- Venting modifications
- Electrical adjustments, when required
- Accessibility of the installation area
Each home presents different installation requirements, so timelines are determined after the initial assessment rather than relying on a standard estimate.
Typical Installation Timeline
Straightforward installations involving compatible plumbing and utility systems may be completed within a single day. Projects requiring gas line modifications, venting upgrades, or additional plumbing work may require additional time to complete safely. Final inspections and comprehensive testing are also included before the installation is finished.
Rather than focusing solely on speed, professional installers prioritize completing every step correctly. Taking the necessary time to verify safe operation helps reduce the likelihood of future performance issues. A properly completed installation provides a strong foundation for dependable hot water service.
After the Tankless Water Heater Installation Process Is Complete
Once installation has been completed and the system has passed all testing procedures, homeowners receive an introduction to the operation of their new equipment. This orientation helps ensure they understand the basic features and daily operation of the system. Becoming familiar with the controls allows homeowners to use the equipment confidently from the beginning.
Learning How the New System Operates
The installer typically explains how to operate the system, adjust temperature settings, and understand the control panel. Manufacturer-recommended operating procedures may also be reviewed so homeowners know what to expect during normal use. This walkthrough provides valuable information for day-to-day operation.
Questions about the newly installed system can also be addressed before the appointment concludes. Understanding the unit’s controls and basic functions helps homeowners feel more comfortable using their new equipment. Clear instruction supports a smooth transition to the new water heating system.
What Homeowners Should Monitor After Installation
During the first several days of operation, homeowners should simply observe that the system performs as expected. Water temperature should remain consistent, and the unit should operate normally during everyday household use. Any unusual performance should be reported promptly so it can be evaluated by the installer.
Monitoring the system immediately after installation allows minor concerns to be addressed before they become larger issues. Most installations operate as expected when completed according to manufacturer specifications and local codes. Professional follow-up is available whenever questions arise after installation.
Why Professional Tankless Water Heater Installation Helps Ensure Proper Performance
Installing a tankless water heater involves much more than connecting plumbing lines. Proper sizing, gas supply evaluation, venting design, plumbing modifications, and code compliance all contribute to safe and dependable operation. Working with experienced professionals helps ensure every part of the installation process is completed correctly from the beginning.
Homeowners preparing for a new system can learn more about tankless water heater installation and the professional installation process offered by Imperial Plumbing. Every installation is planned according to the home’s specific plumbing layout, utility connections, and manufacturer requirements to support reliable long-term performance. A thorough evaluation allows installers to identify any necessary adjustments before work begins, helping create a smoother installation experience.
Schedule Professional Tankless Water Heater Installation with Imperial Plumbing
Every home’s plumbing system, gas supply, venting configuration, and installation requirements are different. Scheduling a professional evaluation allows Imperial Plumbing to assess these factors before installation begins and recommend the most appropriate approach for the property. A careful assessment provides homeowners with a clear understanding of what to expect while helping ensure the new tankless water heater is installed safely, efficiently, and according to manufacturer specifications.